December 09, 2024
Step-by-Step Installation Guide for Three-Phase Hybrid Solar Inverters
Share my #SolaXStory
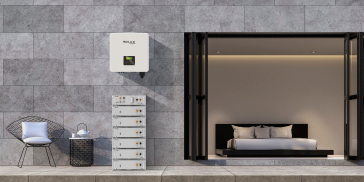
With the increasing demand for renewable energy solutions, more households and businesses are turning to solar power to meet their energy needs. A critical component in maximizing the efficiency and reliability of a solar power system is the inverter. One of the most advanced options on the market today is the three-phase hybrid solar inverter. In this guide, we will focus on the installation process for the SolaX Power three-phase hybrid solar inverter, a leading brand known for its innovation and quality.
Understand the Basics of the Three-Phase Hybrid Solar Inverter
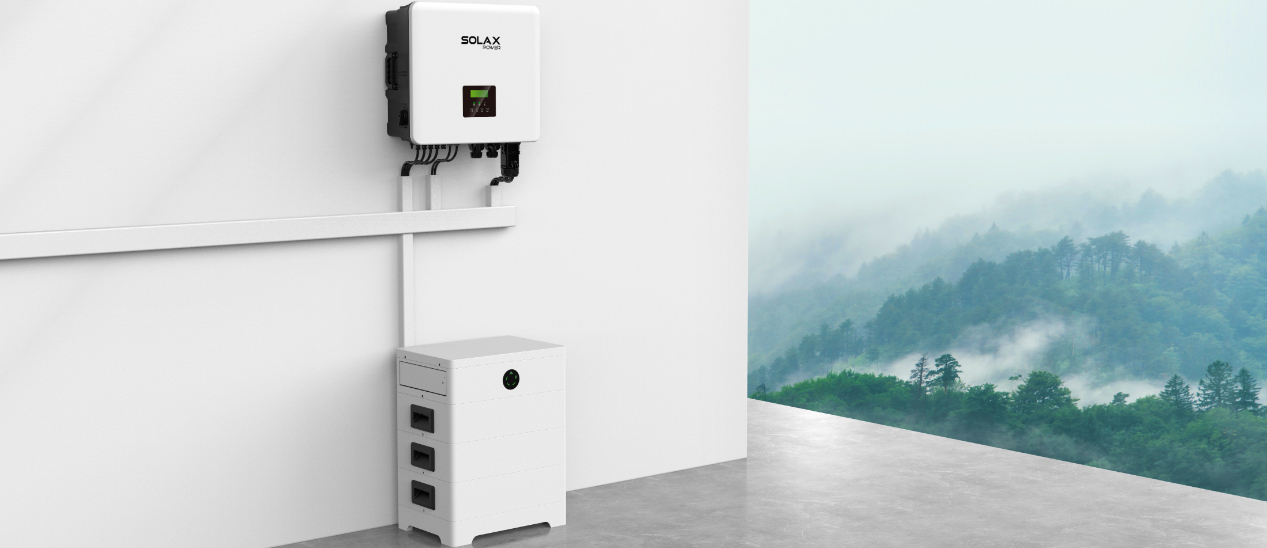
Before diving into the installation process, it's essential to understand what a three-phase hybrid solar inverter does. Unlike single-phase inverters, which are generally suitable for residential use, three-phase inverters are designed to handle more significant power loads, making them ideal for commercial and industrial applications. A hybrid inverter combines the features of both grid-tied and off-grid systems, allowing you to store excess energy in batteries for later use, thereby enhancing the system's flexibility and reliability.
Gather the Necessary Tools and Materials
Before beginning the installation, you will need to gather several tools and materials. It's crucial to have everything on hand to ensure a smooth and efficient installation process. Here's a checklist to get you started:
- SolaX Power 3-phase hybrid inverter
- Photovoltaic (PV) panels
- Mounting hardware (brackets, bolts, screws)
- Electrical wiring
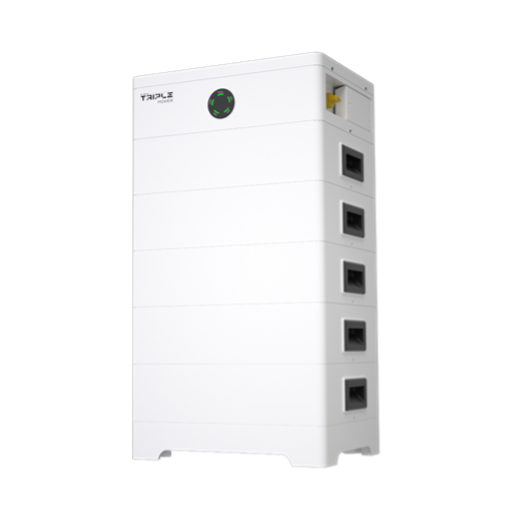
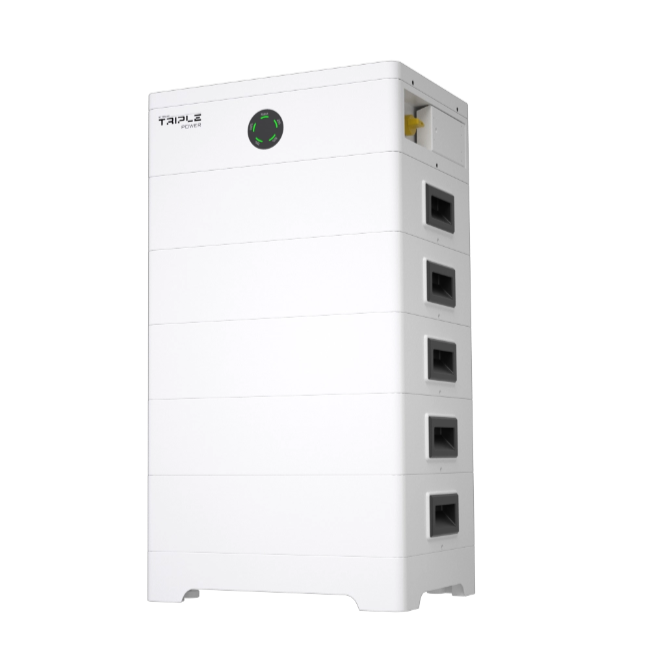
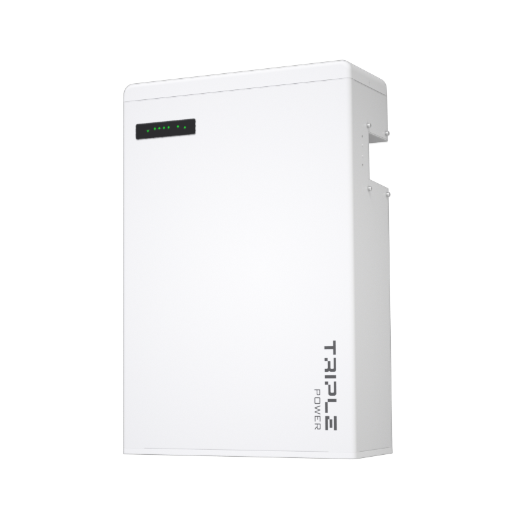
- Battery storage system (if applicable)
- DC and AC disconnect switches
- Grounding equipment
- Safety gear (gloves, safety glasses, etc.)
- Multimeter for electrical testing
- Quick installation guide
Site Preparation
The next step is to prepare the installation site, which typically involves selecting an appropriate location for both the PV panels and the inverter. The panels should be installed in an area that receives maximum sunlight, usually on a southern-facing roof or open ground area.
Panel Installation: Secure the mounting hardware and attach the PV panels according to the manufacturer's guidelines.
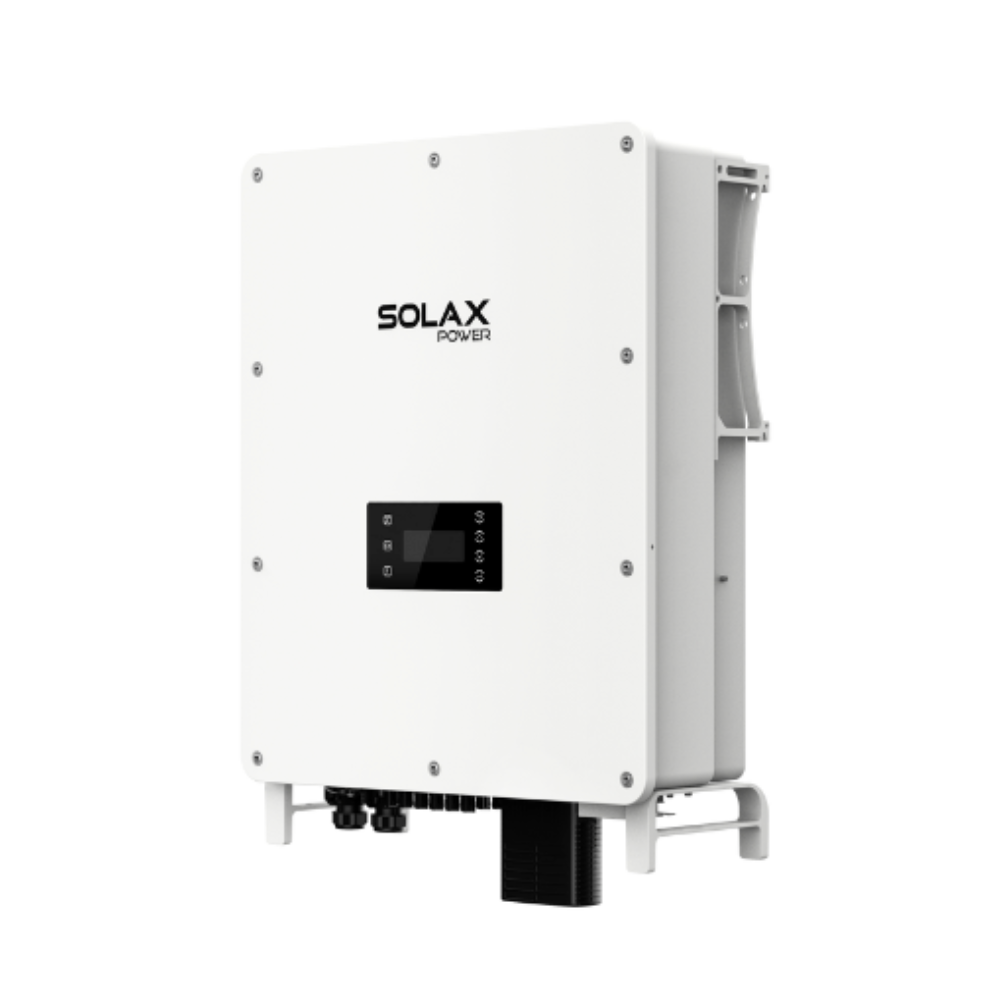
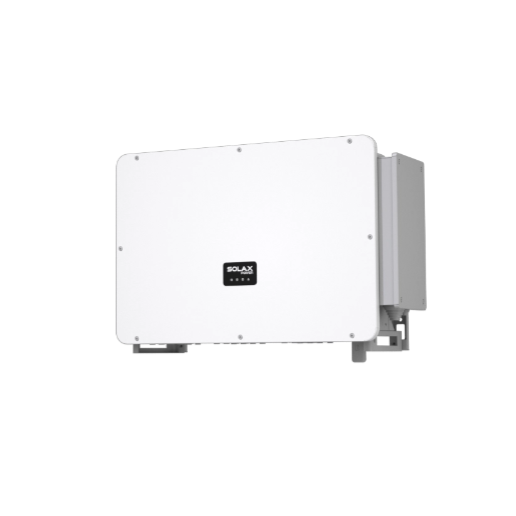
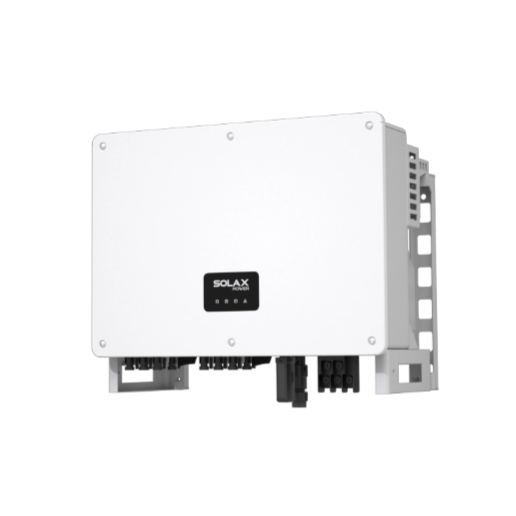
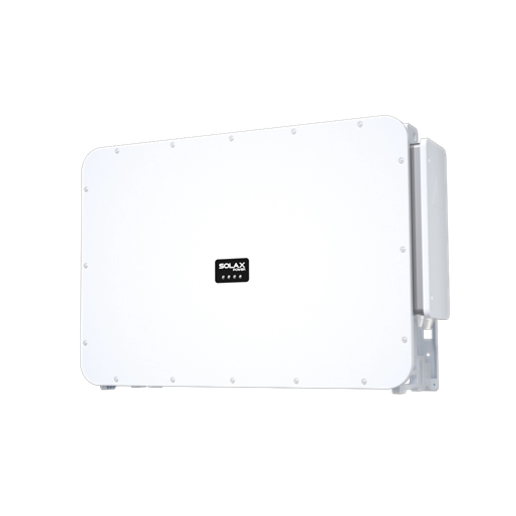
Inverter Placement: Place the SolaX Power three-phase hybrid solar inverter in a location that ensures optimal performance and longevity. While the inverter is designed with excellent waterproof protection, making it suitable for both indoor and outdoor installations, it is still recommended to choose a safe location to extend its lifespan. Additionally, the inverter is equipped with Type II Surge Protection Devices (SPDs) on both the AC and DC sides, offering enhanced protection against lightning and electrical surges. To optimize solar energy generation, the inverter also features MPP scan technology, ensuring maximum power point tracking under varying environmental conditions.
Electrical Connections
With the physical installation complete, it's time to make the electrical connections. This step requires meticulous attention to detail to ensure safety and functionality.
DC Connections: Connect the positive and negative PV cables from the solar panels to the corresponding input terminals on the inverter. Ensure the polarity is correct to avoid any potential issues.
Battery Connections (if applicable): If you are integrating a battery storage system, connect the battery cables to the battery input terminals on the inverter. Again, make sure the polarity matches.
AC Connections: Connect the output terminals of the inverter to the electrical distribution board using appropriate wiring. Ensure that all AC connections are tightly secured.
Meter Connections: Install the energy meter near the main distribution board and connect it to the grid input. Use a communication cable to link the meter to the inverter, and configure the system to enable energy monitoring.
Grounding: Ground the system by connecting a grounding wire from the inverter to a grounding rod. Proper grounding is crucial for safety and to comply with electrical codes.
System Testing and Commissioning
The final step involves testing the system to ensure everything is working correctly. Here's what to do:
Inspection: Conduct a thorough inspection of all physical and electrical connections. Make sure there are no loose wires or exposed cables.
Power Up: Switch on the inverter and the battery storage system (if included). The inverter will start up automatically when the PV panels generate enough energy or the battery is discharging.
Monitoring: Use the built-in monitoring system or connect to a remote monitoring service to observe the inverter's performance. Check for any error messages or warnings.
Final Test: Verify that the inverter is delivering power to the household or business and storing excess energy in the batteries.
By following this step-by-step guide, you can ensure a smooth and successful installation. With proper installation and regular maintenance, your solar system can provide reliable, sustainable energy for many years to come.
Product Recommendation:
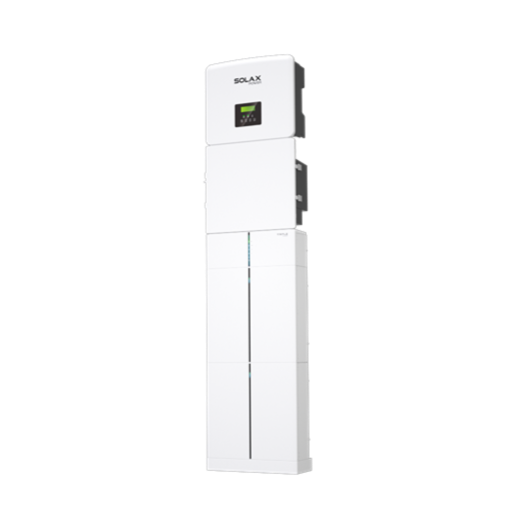
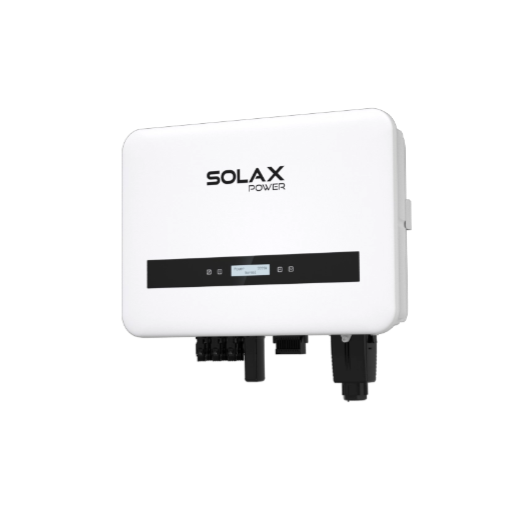
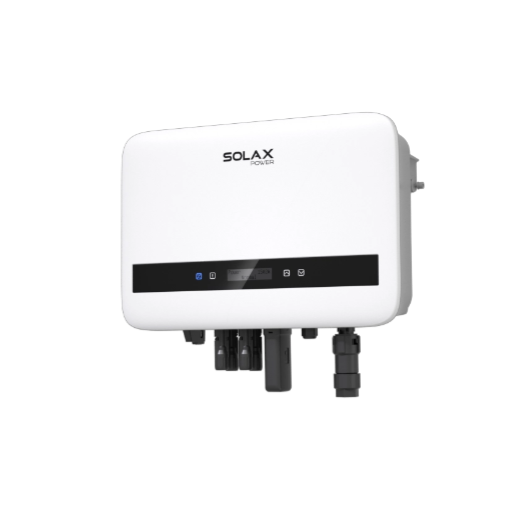
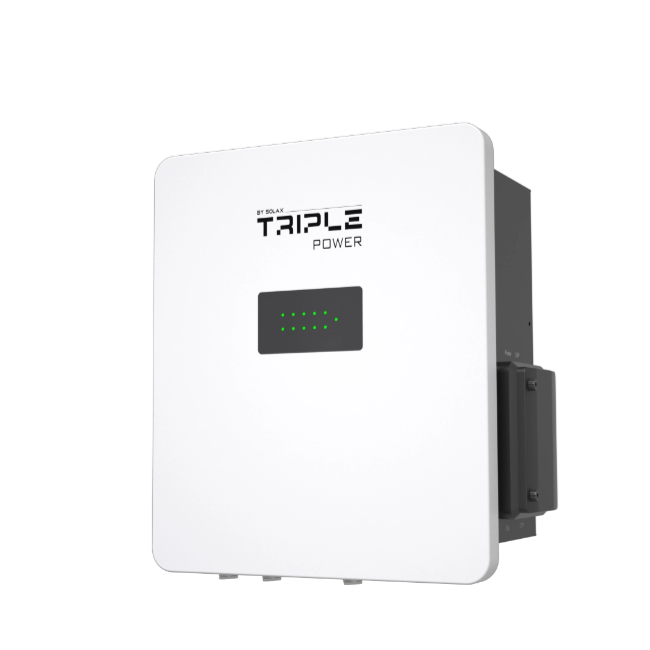
X3 HYBRID G4
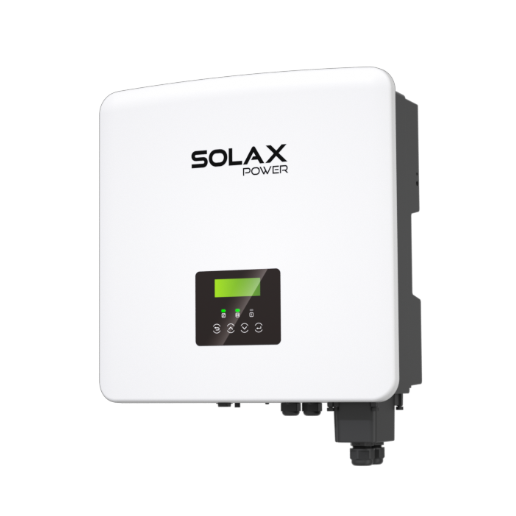
The X3 HYBRID G4 inverter offers a flexible energy solution with power ratings from 5kW to 15kW. It supports both lithium-ion and lead-acid batteries, enabling on-grid and off-grid functionality. With up to 200% PV oversizing and a peak efficiency of 97.5%, SolaX X3 inverter optimizes energy management and ensures reliability with a switchover time of less than 10ms. Its IP65 rating ensures durability in various environments.
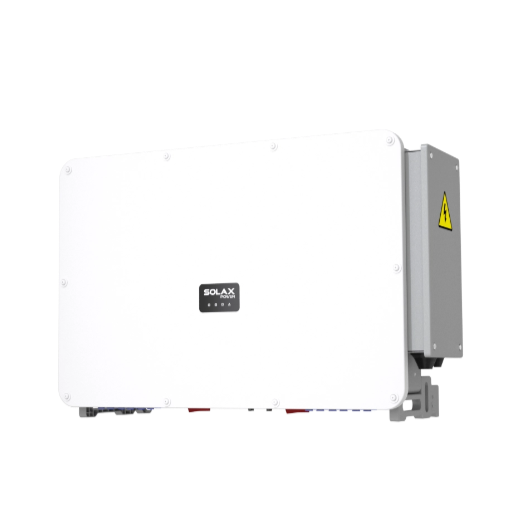
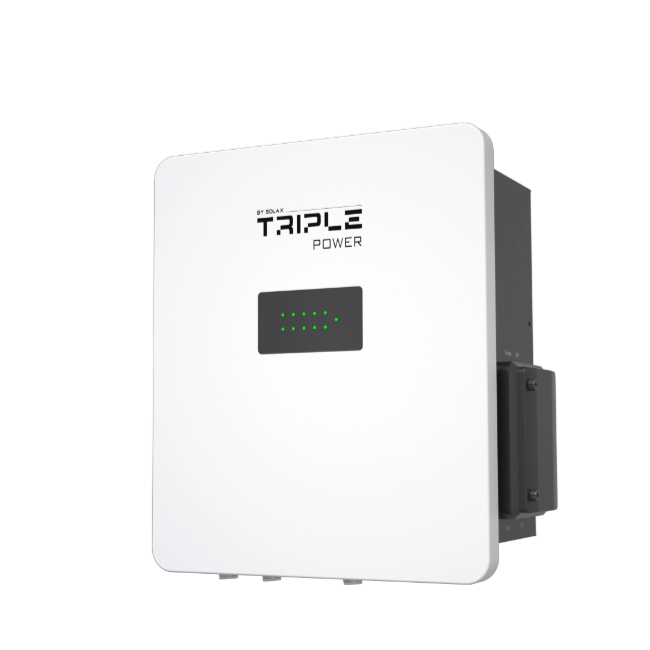
X3 ULTRA
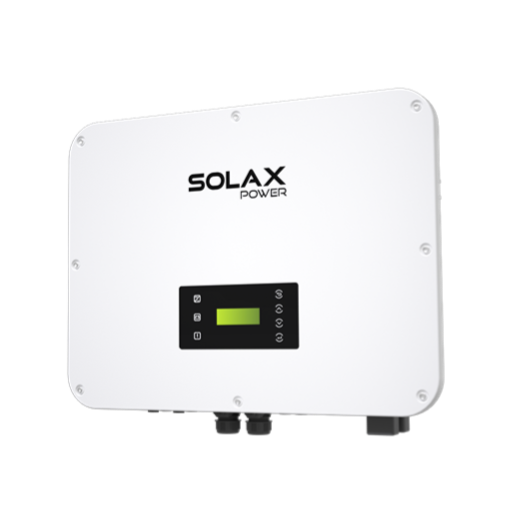
The X3 ULTRA inverter is designed for commercial and industrial applications, providing power options ranging from 15kW to 30kW. It features advanced functionalities like multiple MPPTs for optimal energy harvesting and a microgrid feature for enhanced operational versatility. SolaX X3 Hybrid Ultra also supports 200% PV input and offers rapid response times for load management, making it ideal for complex solar systems.
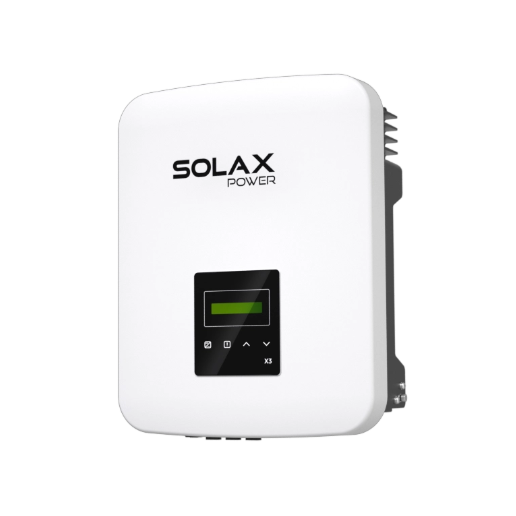
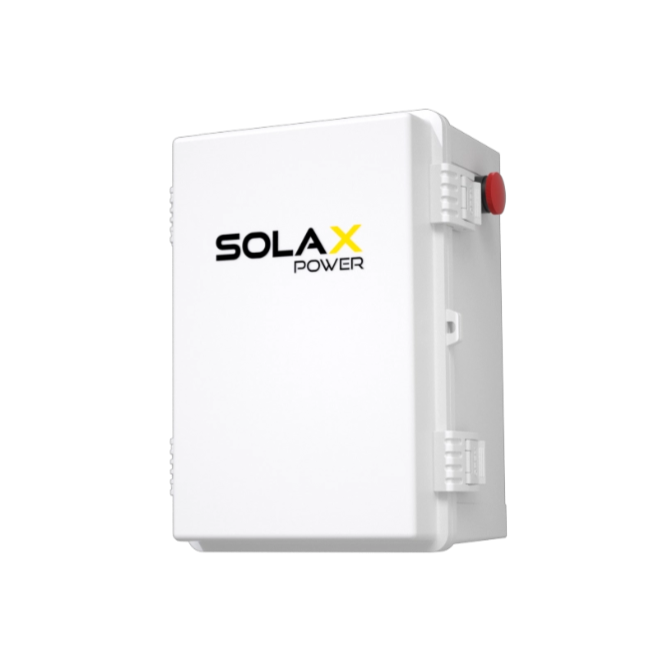
X3 AELIO
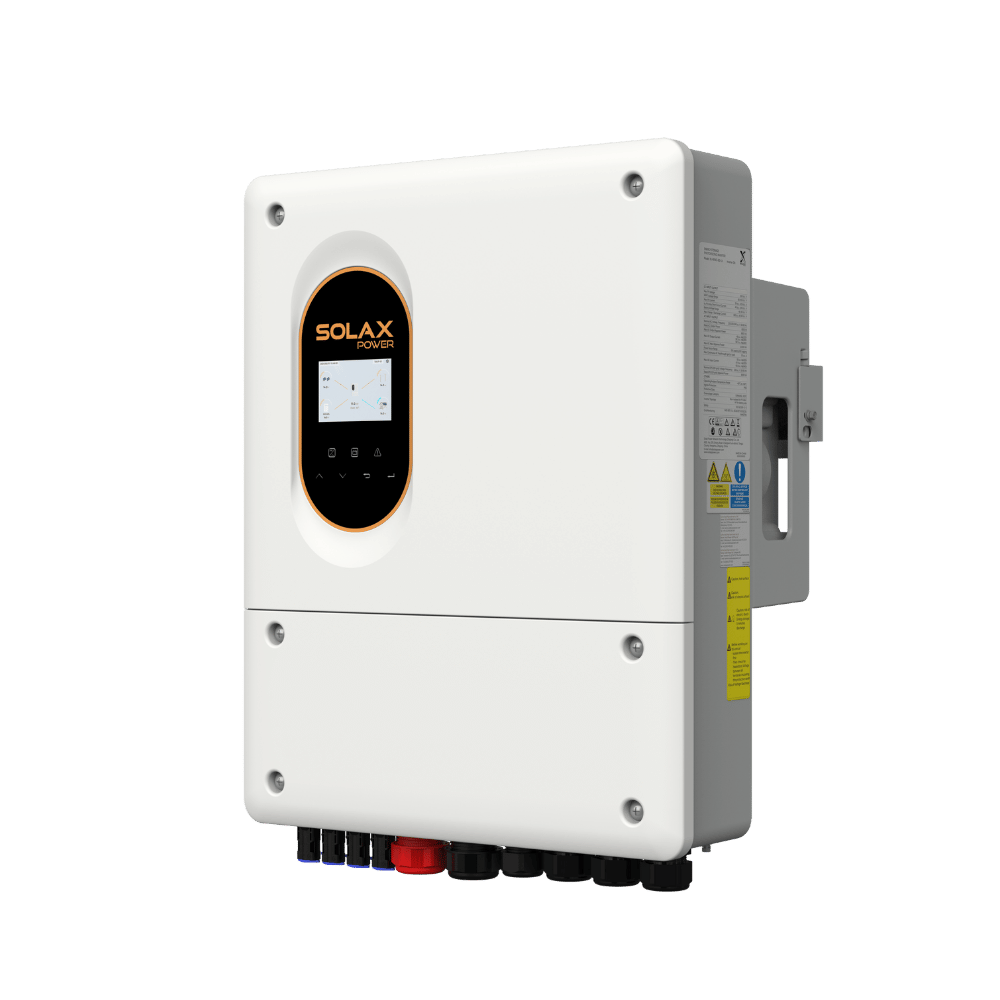
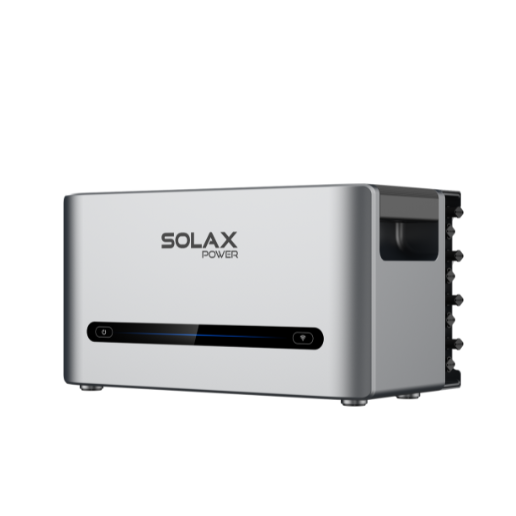
The X3 AELIO is a compact and efficient inverter suited for residential applications, focusing on user-friendly energy solutions. AELIO integrates seamlessly with smart energy management systems and offers features like cloud connectivity and monitoring. Its design prioritizes ease of installation and maintenance, catering to homeowners looking for a reliable solar energy solution.
In summary, the X3 HYBRID G4 excels in adaptability for both residential and commercial use with its dual battery compatibility and high efficiency. The X3 ULTRA stands out with its robust performance in industrial settings, ideal for larger power needs and sophisticated energy management. Meanwhile, the X3 AELIO focuses on residential simplicity and ease of use, making solar energy accessible for homeowners. Each product caters to different market needs, ensuring a comprehensive energy solution range.
Last News
Explore expert insights, practical guides, and the latest news on SolaX Power.

To the Latest Newsletter
Stay Ahead with the Latest SolaX Updates!
Subscribe
I have read and agree to Privacy Policy and User Terms


